
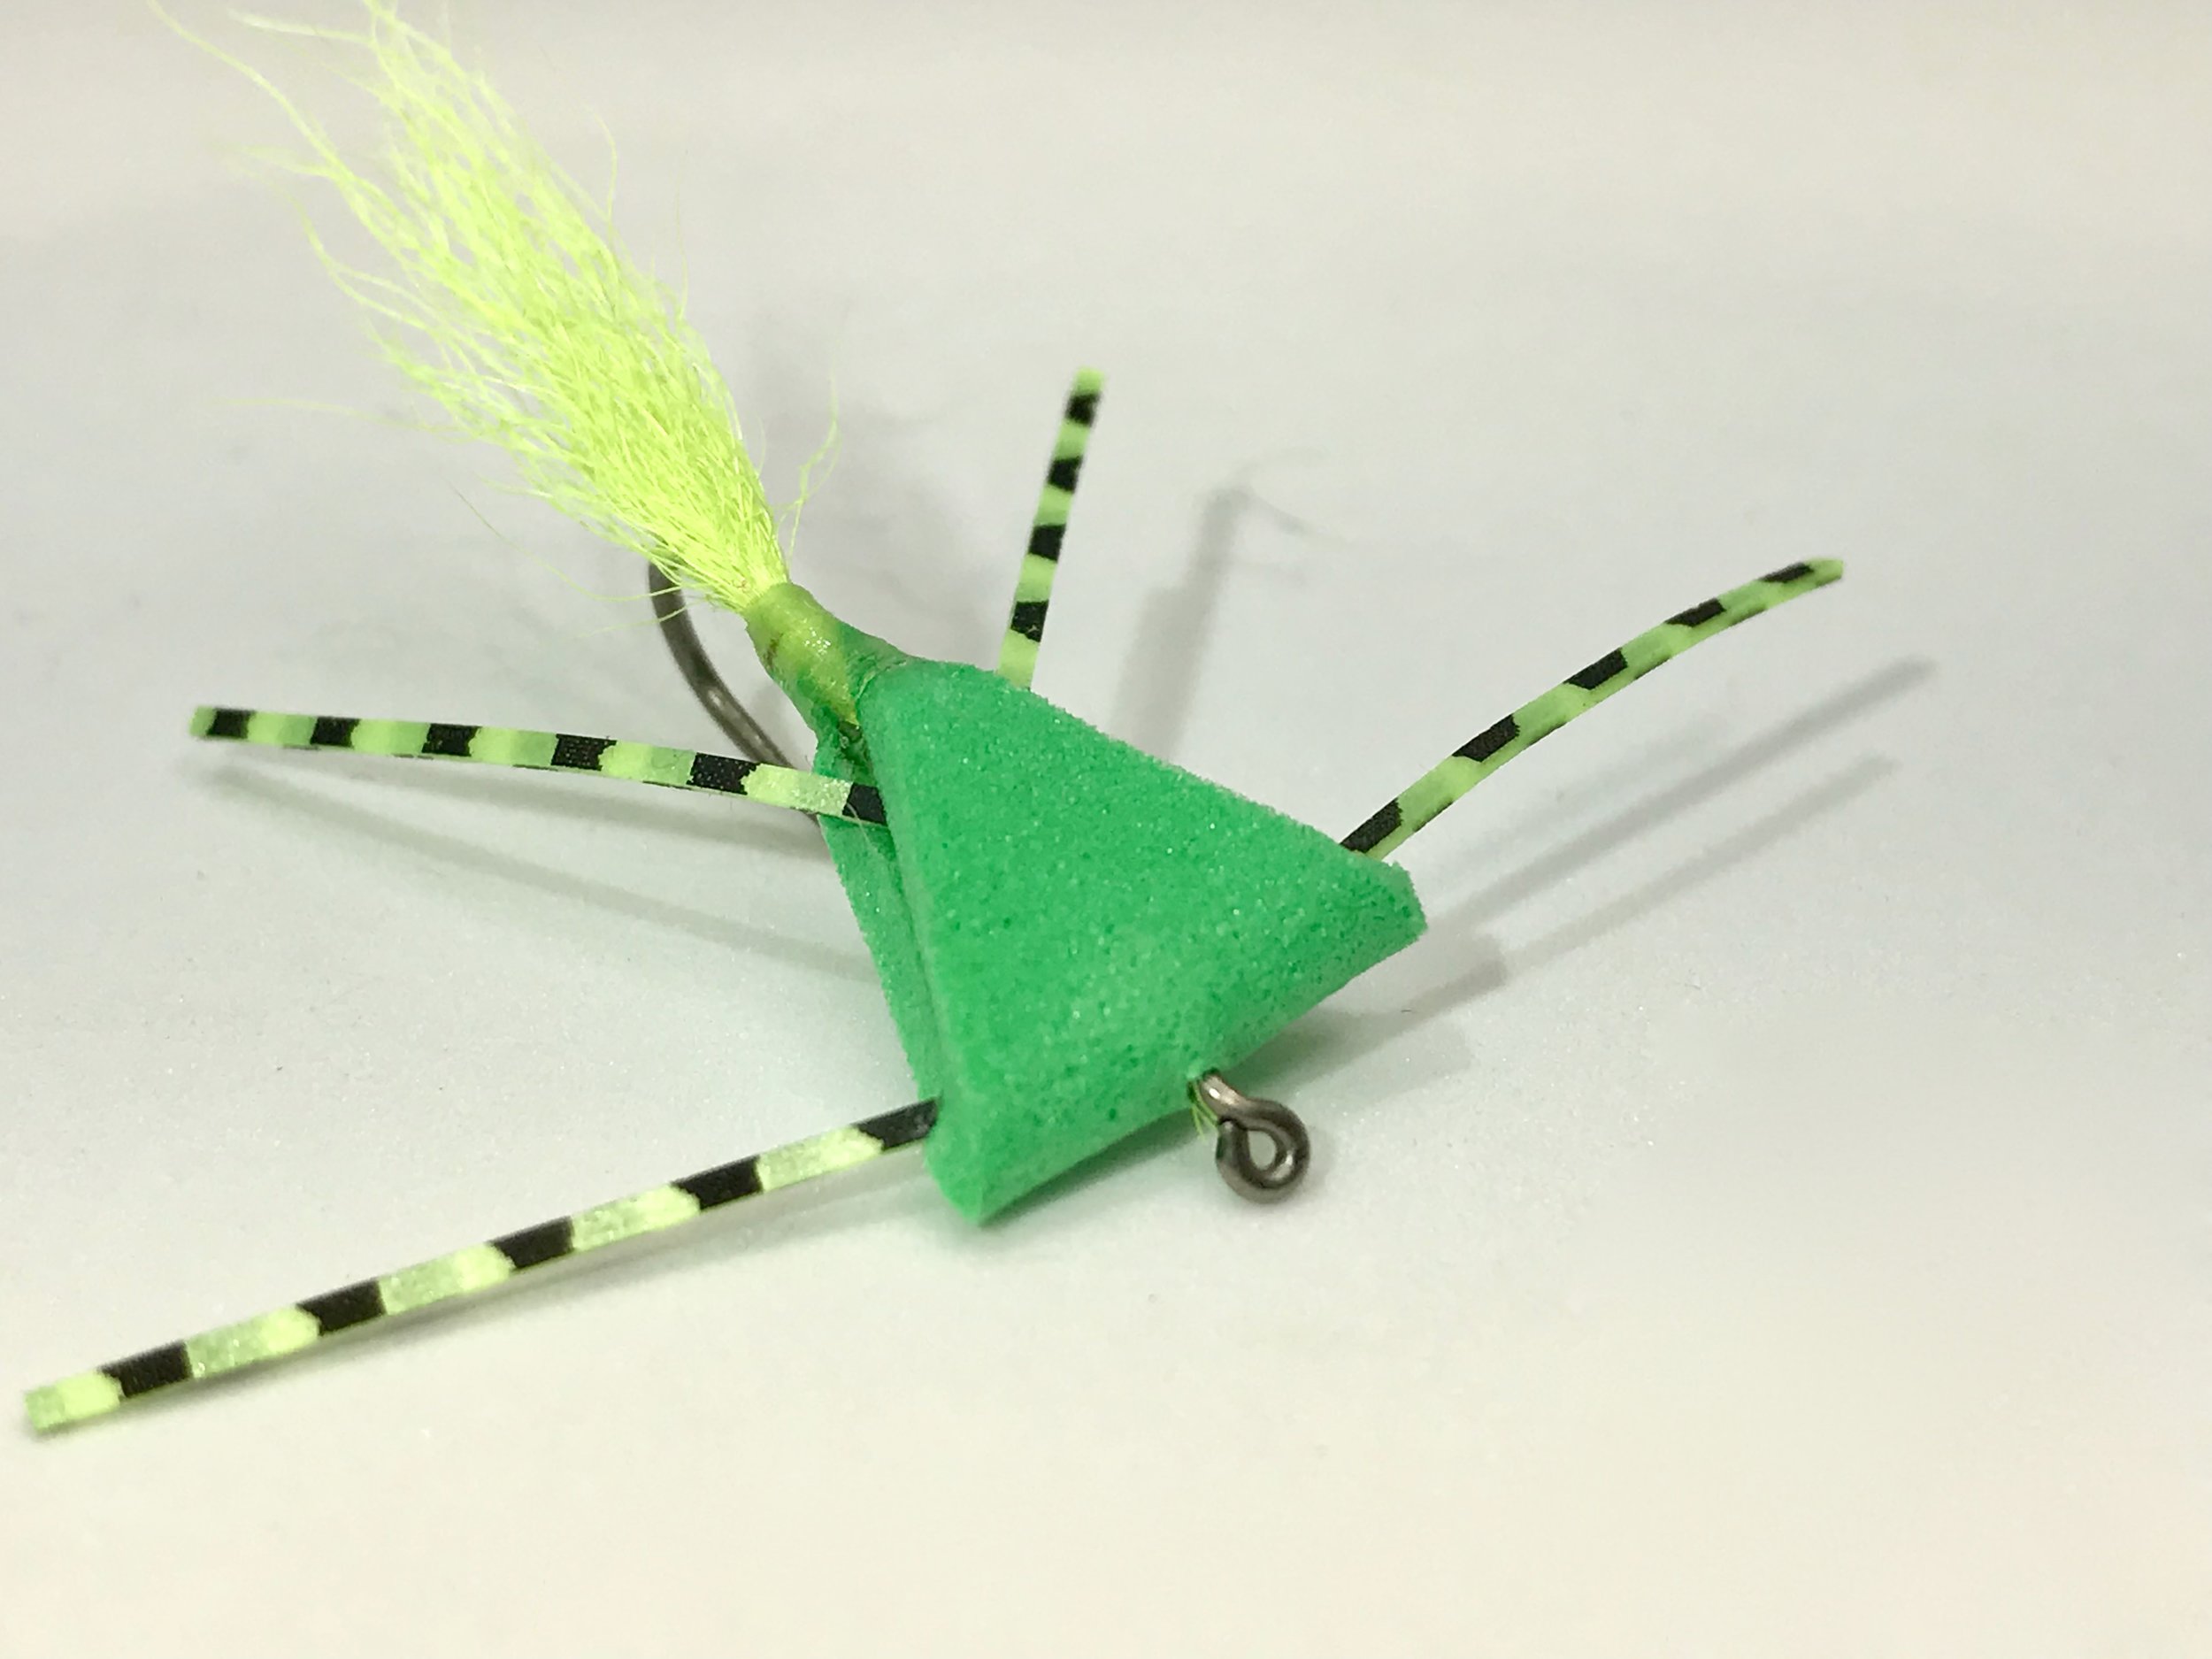
The Triangle Bug
Materials Needed:
- Pre-cut Triangle Bug Bodies or cut the diamond shapes yourself (color of choice)
- Triangle Bug Hooks or a hook matched to the size of your foam body (4x long hooks usually work well)
- 210 denier thread in color of choice. Heavier thread covers the shank quicker and reduces the risk of cutting the foam.
- Calf tail in color of choice
- Silicon or round rubber legs in color of choice
Step by step instructions:

Step 1
Mount the hook in the vise. The unique shape of the Triangle Bug Hook will prevent the foam from rotating around the hook shank and it will help secure the foam diamond in place by provide a more secure base to anchor the foam to.

Step 2
Attach your thread near the eye of the hook and wrap back towards the bend stopping just over the barb.

Step 3
Cut a small section of hair from a calf tail. Holding the hair by the tips, strip away any underfur and short fibers. Measure the tail so it is one hook shank in length and secure it to the hook at the bend.

Step 4
Lash down the remaining fibers to the hook shank and advance your thread forward stopping two eye lengths back from the front of the hook.

Step 5
If using the pre-cut Triangle Bug Bodies use rubber legs 2 1/4” to 2 1/2” long. Align two legs evenly and fold them around the thread at their midpoint. Take 2 or 3 light turns of thread to hold them in place. Using your fingers, adjust the legs so each leg is lying along the shank of the hook (one each side). This will be easy to do if you used light thread wraps.
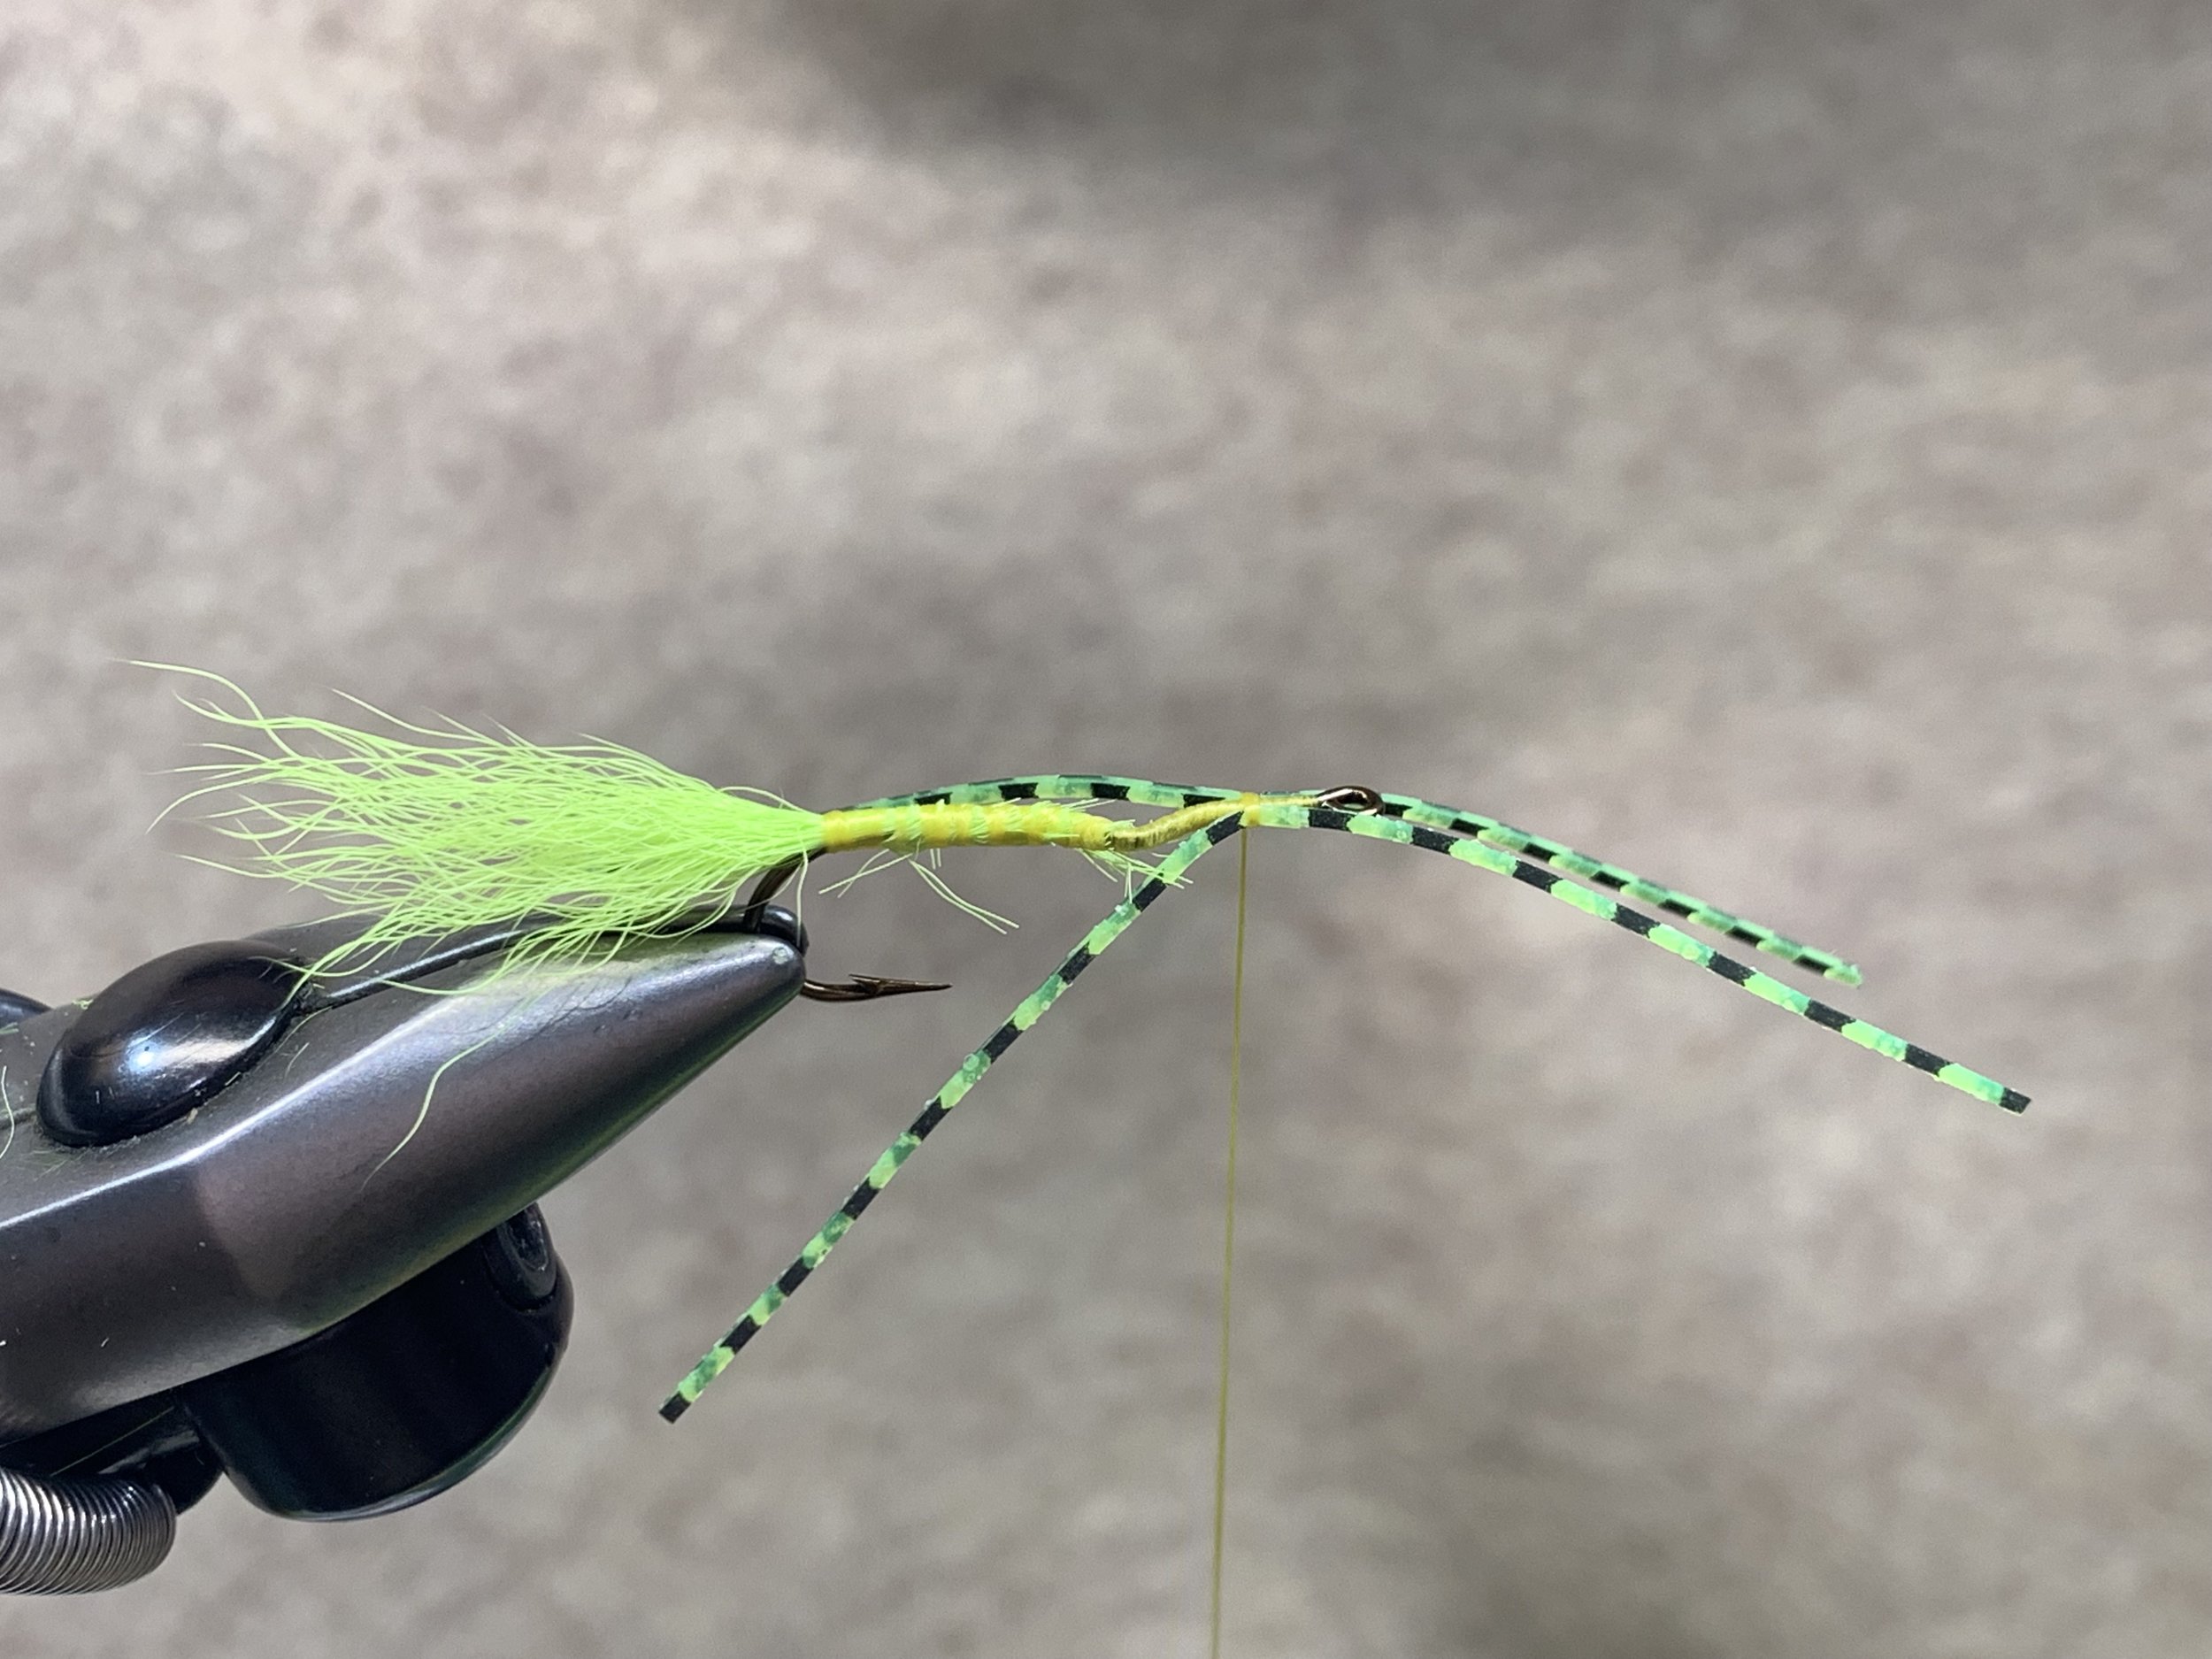
Step 6
Once the legs are properly aligned, secure them with a few firm wraps of thread to hold them in place. Advance your thread down the hook shank stopping where you tied in the tail.

Step 7
Prepare the Triangle Bug Body for mounting on the hook by taking a bodkin or a needle and poking a hole in the center.

Step 8
Push the eye of the hook through the hole you created in the Triangle Bug Body.

Step 9
Hold the back edge of the foam down with your fingernail and secure it to the hook shank with 4-5 firm wraps of thread.

Step 10
I tie on a rotary fly tying vise (a Regal Revolution) so I secure the top edge of the foam first because I can rotate the vise to get access to the bottom of the fly. If tying on a non-rotary vise you may want to secure the bottom edge first to make finishing the fly easier.

Step 11
Apply a thin layer of super glue to the underside of the foam. Avoid getting foam on the legs especially if they are under tension. They will take a set that cannot be undone.

Step 12
Fold the foam over the hook, you have a few seconds to align the legs the way you like them. When all looks good pinch both sides of the foam together with your fingers until glue sets. Caution: If you used too much glue you may find yourself attached to the fly at this point!

Step 13
Secure the bottom edge of the foam with thread wraps. If gaps exists on the sides of the fly as pictured you can apply a drop of super glue with the tip of your bodkin into the opening and pinch it closed. This is for appearances only, it will not effect how the fly fishes.

Step 14
Build up the thread wraps at this tie in point firmly lashing both edges of the foam in place. Whip finish and cut off your thread.

Step 15
Apply a good coating of head cement, super glue or UV resin to the thread wraps. This is a crucial step that adds durability to the fly. This area of the fly is often makes contact with hemostats or pliers when removing the fly from the jaw of a fish. If the thread wraps are not protected they will become damaged and you fly will unravel and fall apart. If these thread wraps are properly protected your fly will keep going and going!

Step 16
My thread treatment of choice is UV resin. I apply Solarez Bone Dry or Solarez Thin to the thread wraps then cure the resin with a UV light. Both products will leave a durable, high gloss, tack free finish.

Congratulations!
You just completed your first Triangle Bug. Now go get it wet!